
Table of contents
Types of vinyl flooringTilesPlanksRollsVinyl flooring installation methodsLoose laySelf-adhesiveClick systemAdhesiveHow do you install vinyl flooring?Installing vinyl planks with self-adhesive paperInstalling roll vinyl with adhesiveAdvantages of vinyl flooringHow to install vinyl flooring. We walk you through all the steps and recommendations to follow when installing your floor ✅.
Vinyl flooring has many advantages and here you will find everything about it, but if you need more information on other types of flooring, you can read related articles on our blog, such as how to lay a floating floor over tiles.
Vinyl flooring is an ideal way to renew your floor quickly and without disruptive building work. Find out everything you need to get started installing your vinyl floor.
Types of vinyl flooring
Vinyl flooring can mainly be divided into two types according to its shape and style:
Tiles
They are square or rectangular, and some have a style that imitates ceramic, stone, marble, etc.
Planks
This type is generally longer and its style usually imitates wooden floors.
Rolls
You can also install vinyl flooring in rolls, which can be cut easily to make installation simpler.
All types consist of a synthetic base and a textured top layer. This is known as the wear layer, and its thickness determines how durable the material is and how it wears.
Vinyl flooring installation methods
There are also different ways of installing vinyl flooring, which can be divided into:
Loose lay
The weight and characteristics of the vinyl planks themselves hold them in place on the floor, with hardly any preparation; even uneven areas are covered thanks to the properties of the planks. It is also a product that is very easy to swap and replace.
Self-adhesive
This is a very simple installation method, as it sticks to the surface once the protective paper has been removed. The planks or tiles can be cut and handled easily. This method does require some prior preparation, as the area must be level and the floor non-porous to help adhesion.
Click system
This type uses an interlocking system in which the pieces fit into one another; it can be installed quickly and easily on all kinds of surfaces except carpets and rugs.
Adhesive
For rolls, for example, they can be installed with adhesive; we explain how further on.
How do you install vinyl flooring?
Below we explain in detail how to install vinyl flooring in two different ways: self-adhesive and with adhesive.
Installing vinyl planks with self-adhesive paper
- Prepare the floor so that it is clean, level, etc.
- Spread the adhesive paper over the floor.
- Lay the vinyl planks one by one on the adhesive paper.
- To ensure correct alignment, use the spacers, which show the gap to leave between the wall and the plank.
- Adjust the joint each time you lay a plank, either with a hammer or with special tapping tools.
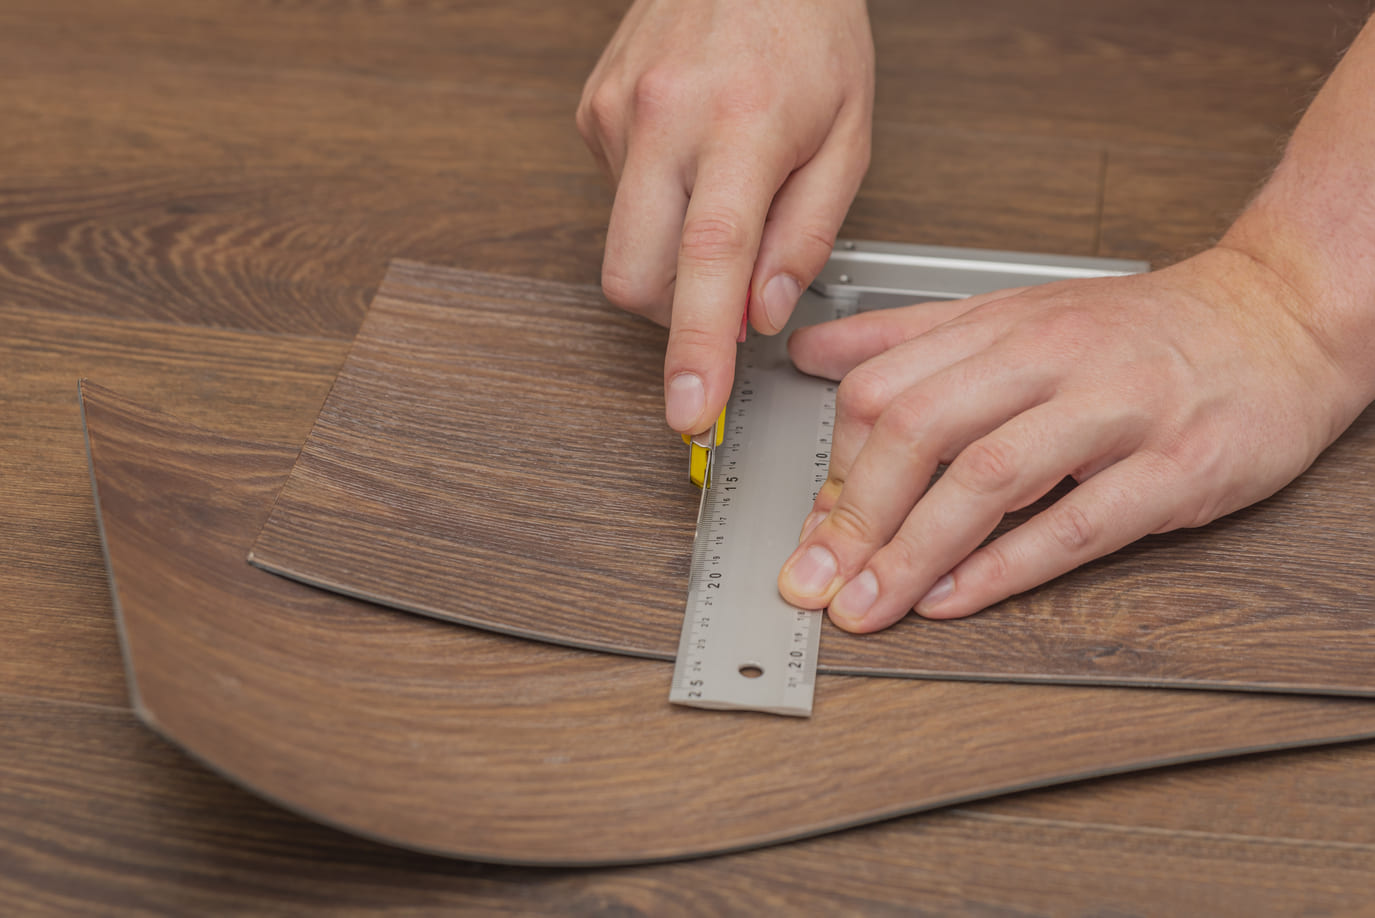
- If necessary, you can cut some of the planks.
Installing roll vinyl with adhesive
- Thoroughly clean the floor surface where it is going to be installed.
- Spread a coat of vinyl adhesive with a wide brush.
- Unroll the vinyl over the adhesive, pressing it down to bed it in with a plastic float or a wooden one covered with fabric so as not to scratch it.
- When you reach the edge of the wall or a piece of furniture, cut with a professional utility knife, also using a straightedge or square to make sure the cuts are straight. The fewer cuts you make, the better the final result
Advantages of vinyl flooring
- Vinyl floors are anti-static.
- They are easy to clean.
- They are compatible with underfloor heating systems.
- They are waterproof, so you can lay them in bathrooms and kitchens.
- They are non-porous, so no bacteria can grow on them.
- They add very little thickness to your existing floor, so you will hardly need to trim any doors.
- They show minimal wear from foot traffic.
- There is a wide variety of designs to choose from.
- And, as you already know, they are very easy to install.
We hope you have found this article on how to install vinyl flooring helpful.
See you next time!